Monday, January 18, 2021


Fitting a Pattern for a Blouse or Top

Fitting Topic No. 3:  Sewing a Mockup for the Blouse or Top 

This is a continuation of Fitting Topics Nos. 1 and 2 in my series of posts on Fitting a Pattern for a Blouse or Top.  The first two topics were posted Dec. 27, 2020 and Jan. 3, 2021.  After making a full bust adjustment to the front pattern piece of Simplicity 8061, I cut out the pattern and sewed a mockup for the top.   A mockup can be made from muslin or any other fabric that is of similar weight to what you will use for your final garment.  I am using a piece of fabric from my stash.  It is something I won’t mind throwing away after I get the pattern to fit me and before I cut my fashion fabric intended for the final garment.  I did not make any changes to the back piece of my pattern, but I did make sure to mark the horizontal balance line (HBL) and checked to see it lined up with the HBL I marked on the front pattern piece. 

I placed the front, back, and sleeve pieces of Simplicity 8061 onto my fabric and cut out the mockup.  Then I transferred all markings to the mockup.  I marked the HBL lines in ink on the right side of the fabric so it will show in photos.  Of course, I would not do this with fabric for a garment.  I did it on the mockup so it will be easier to see in a photo.  I used large basting stitches on the mockup so it will be easier to rip out stitches and make adjustments when I try on the mockup. 

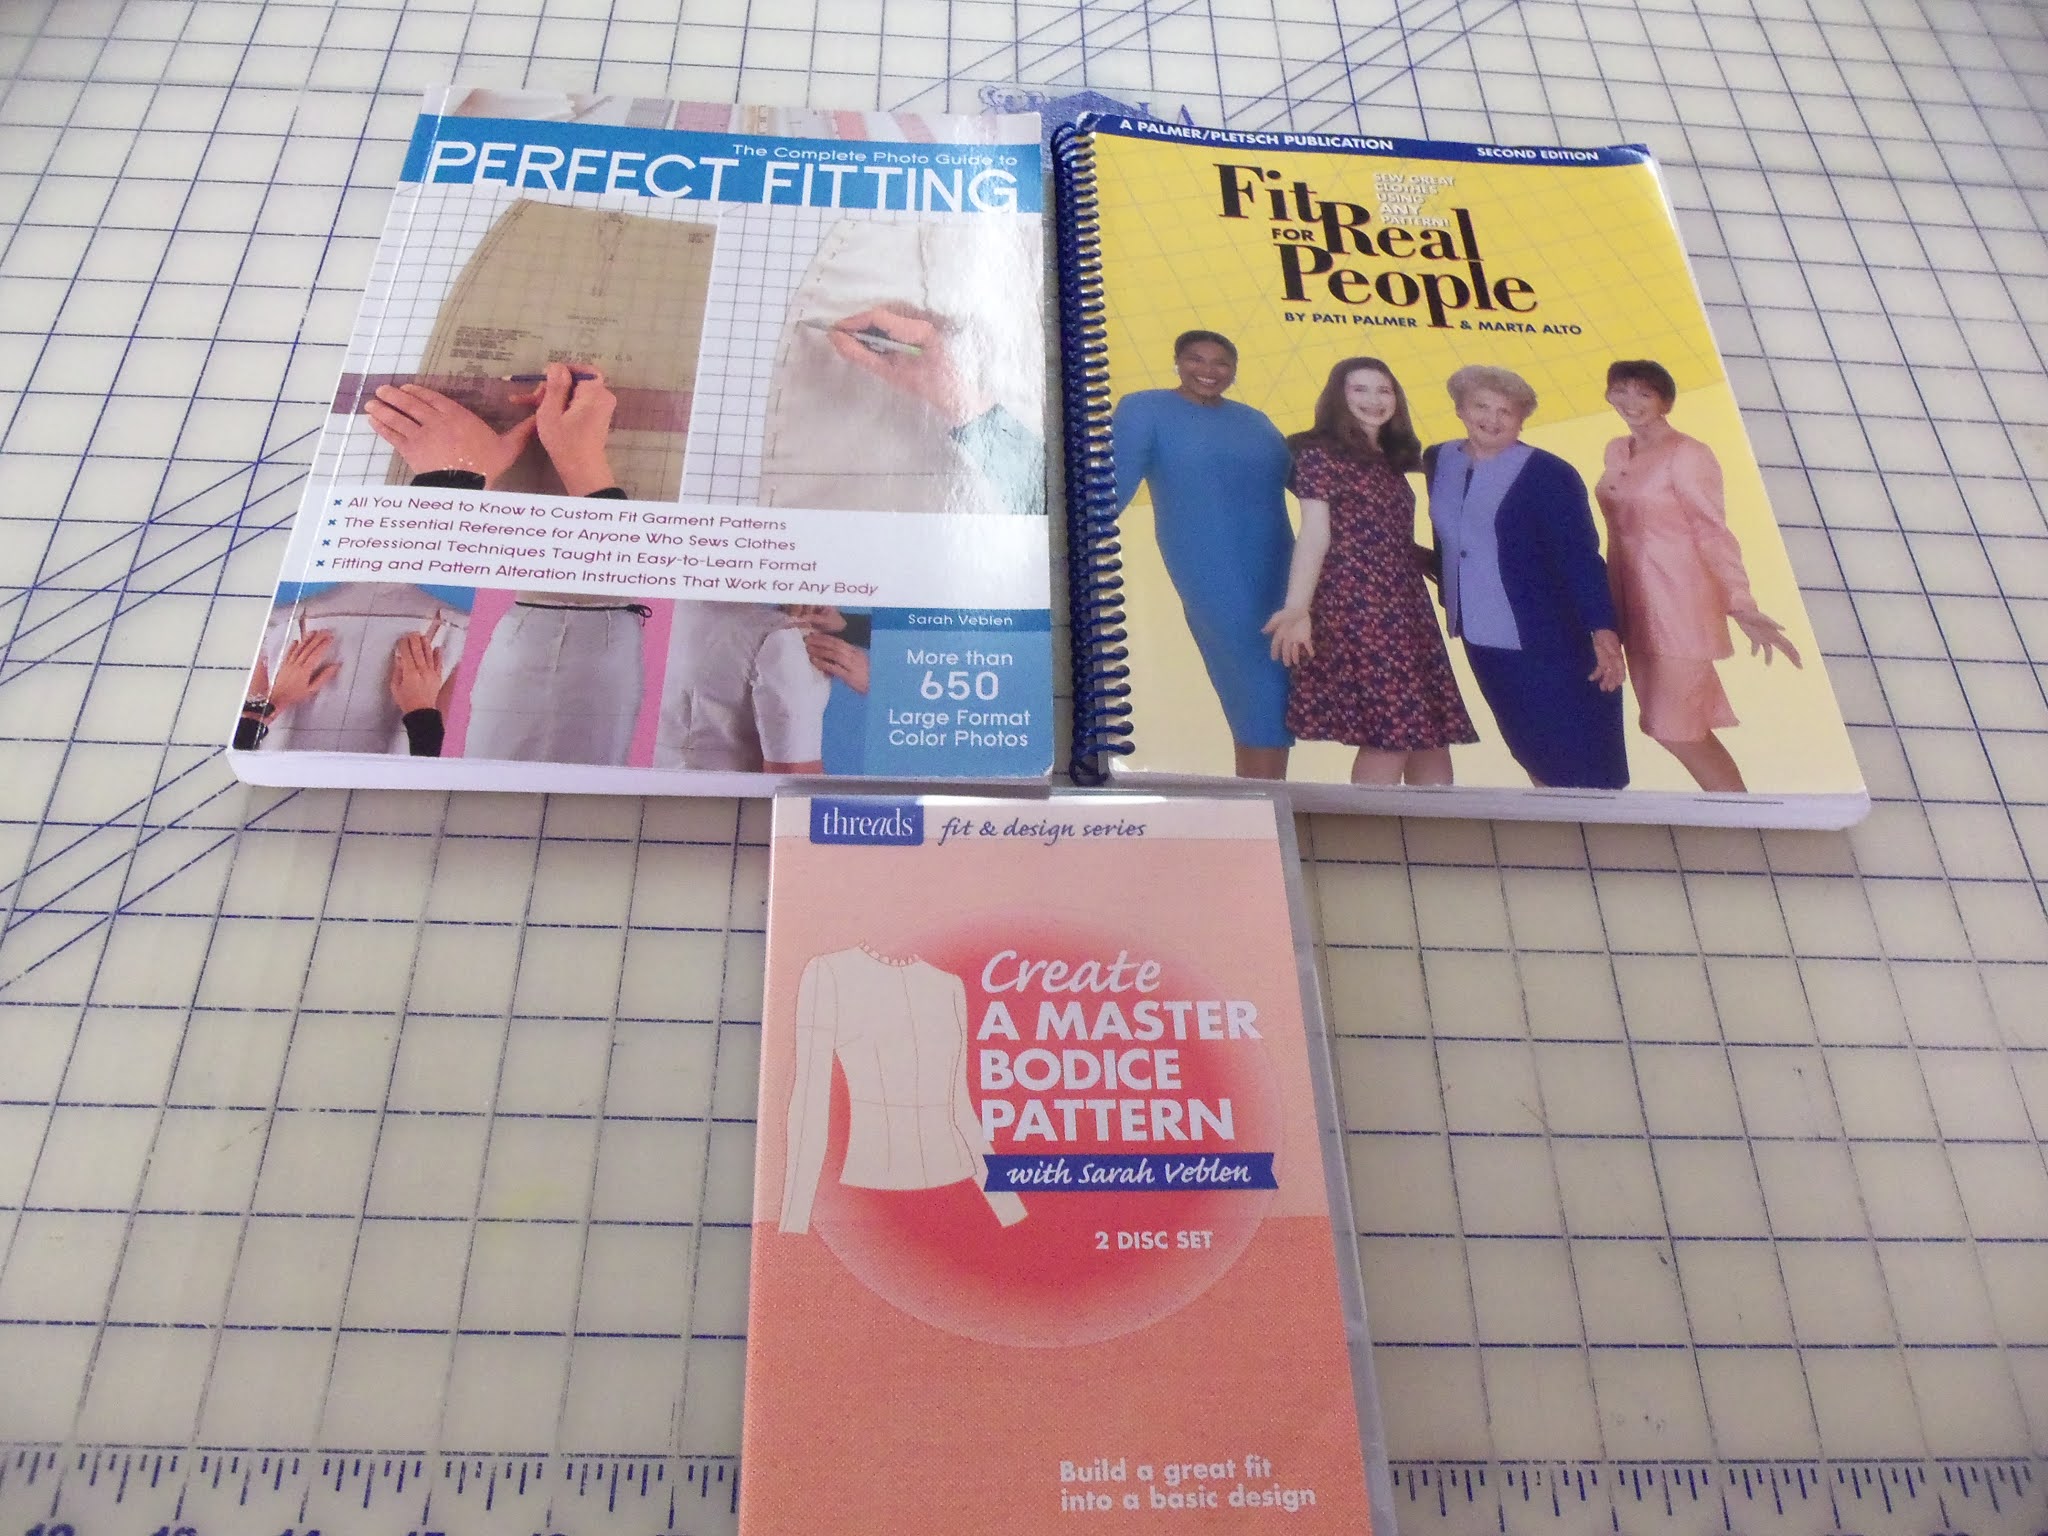
For making adjustments to the mockup, I will use information found in The Complete Photo Guide to Perfect Fitting by Sarah Veblen and a CD published by Threads titled Create a Master Bodice Pattern with Sarah Veblen.   Both the book and the CD teach you how to read the drag lines and folds of the fabric to make the necessary adjustments to your test garment (mockup).  I really like the 2-disc set, Create a Master Bodice Pattern, because it shows Sarah Veblen fitting a mockup on a real person while she explains each adjustment.


I can’t possibly show you every adjustment you might need in a few posts, but I will tell you about the ones I needed to do and will mention a few others.  The way to learn to fit a mockup is to do it yourself.  It is easier if you have someone to help you, but it is also possible to do it yourself by looking in a mirror or fitting it on a dress form.  Doing it by yourself will take longer because you will be removing the mockup frequently to make your changes.  I realize that during this pandemic most of us don’t have another skilled sewer to help us.  I had to enlist the help of my husband.  Although his help was limited, it did make fitting a little easier.  He was able to pin the seams for me and help me decide if the mockup’s HBLs were straight.

If you prefer to fit the pattern tissue pieces directly to your body instead of making a mockup, you should follow the instructions for that given in Fit for Real People by Pati Palmer and Marta Alto.  That book gives detailed instructions for fitting the tissue pieces with pictures and explanations of how to make alterations.  I use both Fit for Real People and The Complete Photo Guide to Perfect Fitting as research tools when I am trying to fit a pattern.  Both are full of excellent information regarding fitting. 

I sewed the front and backs together with long stitches before I put the mockup on for the first fitting.  As planned in my previous post, I sewed 1/4 inch side seams and a 1/4 inch center back seam instead of the 5/8 inch allowed on the pattern to get the extra room I needed.  I did not sew in the sleeves. 


The front fit reasonably well.  I noticed I will need to lower the bust probably another 3/4 - 1 inch. The back had wrinkles from under the arms pointing towards the shoulders and the shoulder lines were not in the right spot.  These two issues may indicate there is not enough room in the back to go over the rounded part of my back.  My shoulders roll forward so the shoulder seams do not sit where my shoulder line is.  I will do an adjustment on my pattern for round shoulders and this adjustment may take care of some of the wrinkles from under my arms by adding more fabric to go over the curve of my back.  I may also make a forward shoulder adjustment to my pattern to correct the shoulder line.  I have three changes to make to my pattern before I cut out another mockup:  1.  Make round back adjustment; 2. Make forward shoulder adjustment; 3. Lower the bust.

It is important to write down each of the adjustments you need so you will remembe to transfer all of them to your pattern.  You can write them on paper or even on your mockup if it is a solid light color.  Check them off as you add them to your pattern.

I traced another back pattern piece.  I decided not to increase the center back seam as I did on the first mockup because that would increase the neckline.  Instead, I decided to add another 1/8 inch to each side seam in addition to the 3/8 inch I added when I took 1/4 inch side seams on the mockup instead of the 5/8 inch allowed on the pattern.  Therefore,  I added 1/2 inch (3/8 + 1/8) to each side seam.  I will need to add the corresponding amount to the seam allowance on the sleeves also.  

I decided not to make the forward shoulder adjustment to the back pattern piece.  Instead, I will adjust the shoulder seam line after I sew the next mockup.  I want to see if the round back adjustment changes the shoulder line enough that I may not need the forward shoulder adjustment.  

The next change I made to my pattern was the round back adjustment.  I marked the seam allowance for the neckline and the armscye.  Then I drew a line one inch down from the neckline seam on the center back straight across to the seamline at the armscye.  I made sure I did not cut through the seamline.  Then I clipped from the armscye up to but not through the seamline.  This made a hinge for the back to slide up 3/8 inch on the center back but remain attached at the armscye.  It is very important to keep the lower portion of the back on the straight of grain when doing this!  I placed a strip of paper under the open section and taped in place.  When I made this adjustment, the center back curved in slightly at the neckline, so I straightened the center back.  This will probably not affect the neckline because the small amount of extra fabric can be eased into the facing.  If you have a larger amount, you could add a neckline dart.     


I traced another front pattern piece so I can make the changes necessary for the front.  First, I added 1/2 inch to the front side seam just as I did for the back.   Then to lower the bust, I drew a box around the dart.   I kept the upper and lower edges of the box parallel.  Then I cut out the box and moved it so the point of the dart was ¾ inch down from the apex.  I added a strip of paper under the dart area and taped the box in place.  I used a red pen to mark the box, but it is still difficult to see in a photo.  The two photos below show the box as it was drawn and the box after it was moved down and taped in place. 


Now I am ready to cut out my second mockup and baste it together.  I will let you know in my next post how that turns out.  If you have not started fitting a pattern, I hope you will give it a try.  Just be sure to do some reading on the subject and be ready to experiment!

Judy


Sunday, January 3, 2021

Fitting a Pattern for a Blouse or Top 

Fitting Topic No. 2.  Preparing the Pattern Before You Cut

This will be a continuation of my post, Fitting a Pattern for a Blouse or Top, from December 27, 2020.  After choosing my pattern and my size, I begin to get my pattern ready.  Unlike most people, I don’t cut up my pattern.  Instead, I start by tracing my pattern on medical exam paper before beginning.  This way if I make a major mistake while cutting my size out of the multi-sized pattern pieces, I won’t ruin my original pattern.  I know this takes a little longer, but I am too cheap to ruin a pattern that I may want to use for a different size later.  You may choose to simply cut around your size on the original pattern and work with that instead of making a copy. 

As is the case with most commercial patterns, Simplicity No. 8061 was made for a person with a B bra cup size.  Since I am sewing a top for a D bra cup size, I already know I will need to make a full bust adjustment on my pattern.   I will do that adjustment before I cut the fabric.  If you have never done a full bust adjustment, I suggest you start by reading the instructions given in either of the two books I recommended in my last post.  Fit for Real People by Pati Palmer and Marta Alto explains how to make the adjustment beginning on page 142.  The Complete Photo Guide to Perfect Fitting by Sarah Veblen describes the full bust adjustment beginning on page 128.  She also gives instructions for a small bust adjustment on page 128.  Marta Alto has a CD titled Full Busted?  Sew Clothes that Fit!.  Marta gives very clear instructions on her CD for the full bust adjustment. 


The finished garment measurement at the bust was printed on the front pattern piece of Simplicity 8061.  If your pattern doesn’t give you this figure, measure across the front pattern piece at the bust from seamline to seamline.  I suggest you mark the seamline on your pattern at the bust when you do this so you will get an accurate measurement.  Also, measure from seamline to seamline across the back pattern piece.  The total of the front and back will give you the finished garment measurement.

Usually, the amount of ease is given somewhere on the pattern.  I found the ease printed on my front pattern piece next to the finished garment measurement.  I subtracted the amount of ease from the finished garment measurement and compared that to my bust measurement.   The difference was three inches, so I knew I had to find a way to add three inches to the bustline on the pattern.  I divided the 3 inches into two because I will cut the front piece on the fold.  So, I will need to add 1 1/2 “ to the front pattern piece.  I also know my hips are a little larger than the size on the pattern envelope so I will need to add some to the side seams.  With that in mind I decided to adjust the pattern piece by only one inch at the bust which will result in an increase of two inches because the piece is cut on the fold.  I can get the other one-inch increase by adding ¼ inch at each side seam.  Your figures will be different than mine and you may decide to do your total bust adjustment at the bust and not any at the seamline.  You really have to just make an attempt and see if it works.  You can always make adjustments to your pattern and to your mockup before you cut into your fashion fabric for the actual garment.

On page 130 of The Complete Photo Guide to Perfect Fitting, Sarah Veblen gives suggestions about the maximum amount to be added when using this method of making a full bust adjustment.  There is a section in Fit for Real People that details instructions for making a Y bust adjustment.  This technique is used when adding more then 1 ½” on each half of the front pattern piece or a total of 3” to the bust of the pattern.  

As I copied the front pattern piece, I made sure I transferred all markings from the pattern to my copy including the line for lengthening or shortening the garment.  On my pattern the line was about one inch above the waist.  I will not need to lengthen or shorten my garment, but I can use this line as a horizontal balance line (HBL).  Sara Veblen discusses the HBL in her book, The Complete Photo Guide to Perfect Fitting, beginning on page 24.  HBLs will help you keep your garment in the proper position as you make adjustments.  These lines should always be horizontal to the floor and perpendicular to the center front. 

Before I began the full bust adjustment,  I measured approximately one-third way up on the armhole  and marked that point.  Make sure the apex is marked on your pattern.   The apex is usually marked on the pattern with a circle with a plus sign in it.  Don't worry if the marked apex is higher than your bust point.  The apex will automatically be lowered by making the full bust adjustment.  If it needs to lowered even more, you can do that after sewing and trying on your mockup.  Then you can make the changes to your pattern before cutting your fashion fabric.  My pattern did not have the apex marked.  I marked it a little above the dart and about one inch away from the dart end so that the middle line of the dart will go through the marked apex.  I drew a line from the point marked on the armhole to the apex and straight down from the apex to the bottom of the garment.  Make sure this line is perpendicular to the bottom.   I extended the middle line in the dart to, but not through, the apex.  This became line 2 of the full bust adjustment.   I drew line 3 just above the HBL from line 1 to the center fold line about one inch above the HBL. 


I placed my pattern on my gridded cutting mat to make the cuts on the three lines.  If you don’t have a cutting mat with grids, you could use a fold-up cardboard grid.  I carefully cut from the bottom of the garment on line 1 up to and through the apex to, but not through, the armhole.  Then I cut line 2 from the side to, but not through, the apex.  I spread both sides of line A apart and to the side and down.   This caused the dart to open.   I made sure I kept the center fold line on a grid line and kept both sides of line A parallel to a grid line.    I measured the distance between both sides of Line A.  When it equaled the amount of increase needed, I use pattern weights to hold my pattern in place.  If you used a cardboard grid, you could use pins to hold the pattern in place.


After doing the full bust adjustment, the bottom of the garment was not level.  This required truing the pattern.  To do this, I cut from the center fold line across line 3 to line 1.  Then I pulled the section down so that it was level with the side section using a grid line to make sure the section was level.  Pin or use a pattern weight to hold the section in place.  Then I carefully added pieces of pattern paper to fill in the spaces on my pattern and taped them. 


After marking the center line of the new dart, I folded the bottom dart leg to the top dart leg and then cut the pattern on the cut line.  That resulted in forming the dart extension on the pattern piece.  The front of the pattern is now ready to be cut.


If you are interested in learning to fit a pattern to your body, I hope you will do some reading on the subject to prepare yourself for this sewing adventure.  The two books I recommended are good resources.  Fit for Read People focuses on fitting the tissue pattern on your body and making the changes directly to the pattern before you cut your fabric.  The Complete Photo Guide to Perfect Fitting focuses on comparing your measurements to the pattern measurements and making one or more test garments to use to determine what alterations are needed for your pattern to fit you.  There are many photos of fitting problems to help you learn to recognize areas that need adjustment and show you how to make the adjustments.  Both these books are filled with helpful information.  And there are many other sources of good information on the internet.  The important point is for you to begin to research some of the available information so you can train yourself to become proficient at fitting a pattern. 

 Have fun fitting and sewing!

 Judy