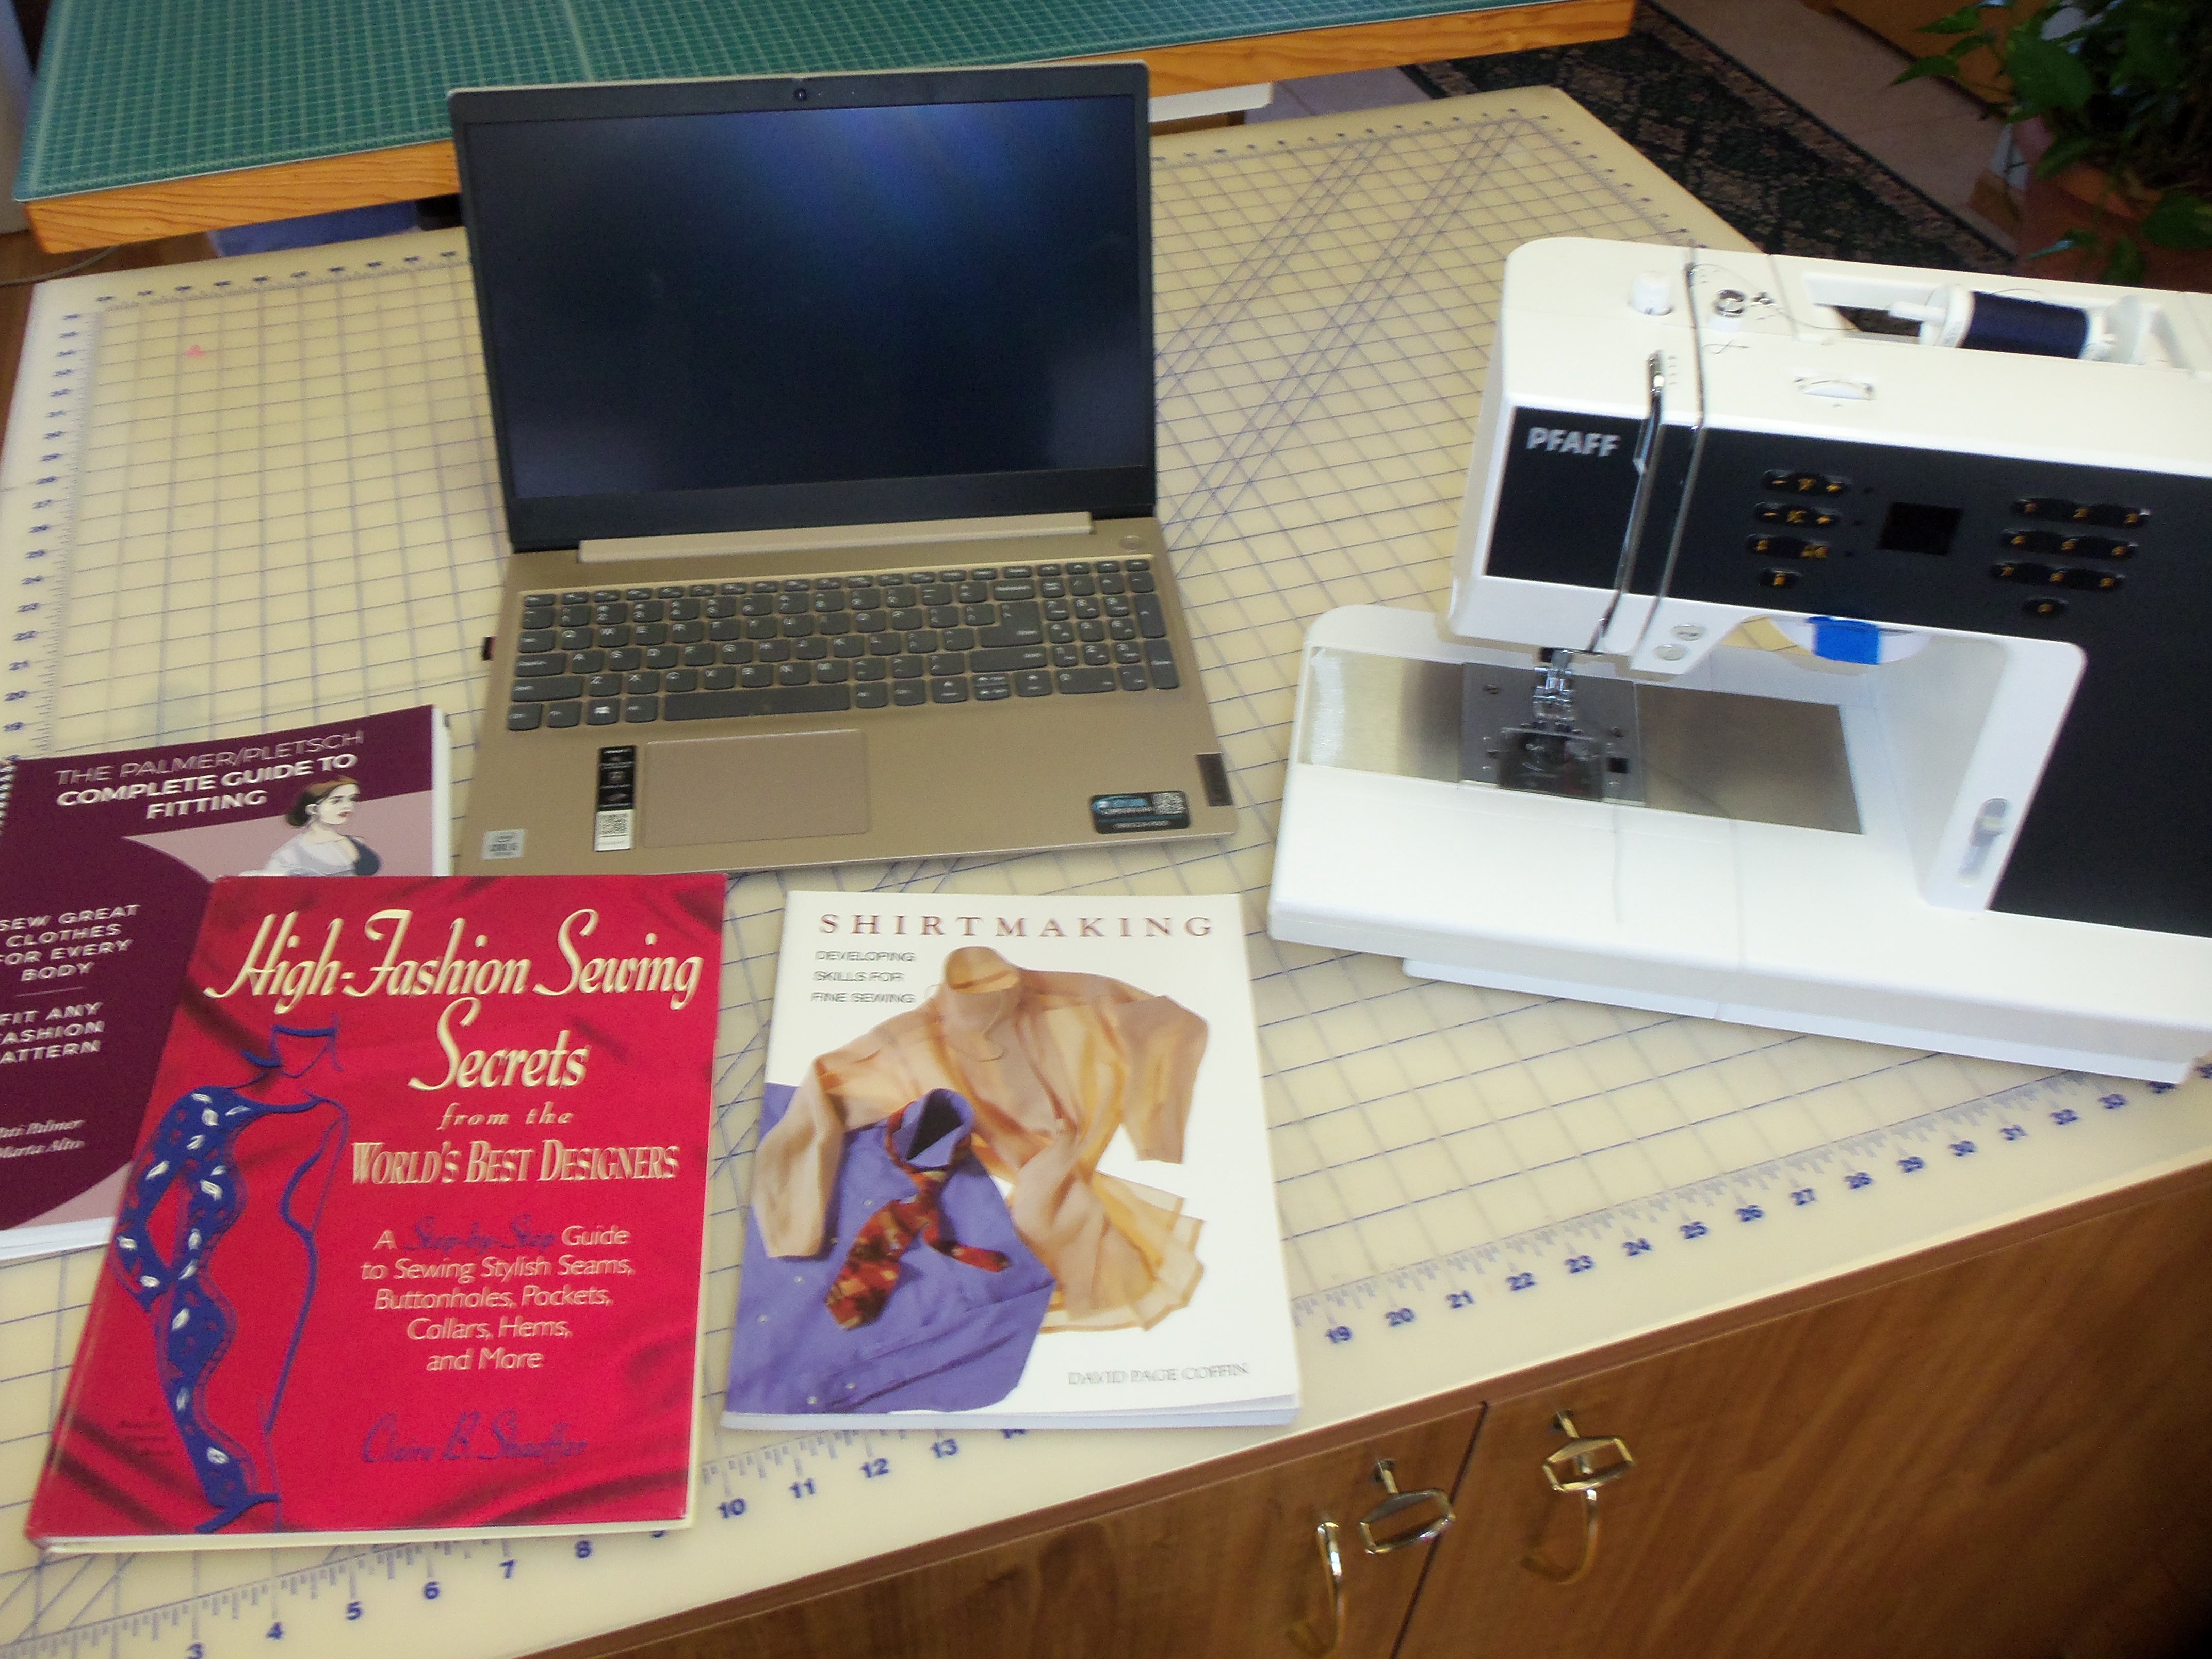
Let's Fit a Tee Shirt Pattern
Did you give
up making clothes for yourself because you could not get patterns to fit? If so, you are not alone. That has happened to many people. However, there is no need to give up. You can learn to fit patterns to your
body. Let’s start with something
simple. A tee shirt is a good first
project to learn to fit a pattern.
First you
need to find your size. Forget about
your “off the rack” size. That will not
work for a home sewing pattern. Most
sewing patterns are drafted to fit a woman who is 5’5” tall and wears a B-cup
bra. How many of you fit that
description? I don’t! But don’t worry; you can fit the pattern to
your body. There is a learning curve,
but you can do it.
Although it
is possible to measure and fit yourself, it is much easier if you get someone
to help you. Ask a friend who sews to
help you. Maybe you can help each other
and the two of you would then be on your way to making clothes that fit much
better than those you buy off the rack.
The first
step is to take your measurements. You
will need upper bust, full bust, waist, full hip, and arm length measurement to
make a tee shirt.
The next
step is to pick your pattern. You have
lots of choices. You could pick one of
the big four national brands (Simplicity, McCall, Butterick, or Vogue) or you
might try one of the smaller, independent companies where you can download and
print the pattern. One of the
independent companies is DIBY Club, LLC (Do It Better Yourself). The website is https://doitbetteryourself.club/.
If you go to the website and click on “shop patterns” and then click on
“free patterns”, you will find the Anything But Basic (ABB) tee. That is a really good pattern with terrific
instructions. They explain how you can
print the pattern on regular printer paper and then tape it together, or you
can send it to another website to print on very large paper and mail it to
you. It also gives you the option of
downloading it and taking it to a local print shop to be printed.
Whatever
pattern you choose, I suggest tracing it onto some type of paper to make
another copy because your pattern could have a lot of changes after you make
your alterations. You don’t want to ruin
your original pattern. You can use
doctor’s medical table paper or one of the pattern tracing fabrics such as
Do-Sew. If you use the pattern tracing
fabric, you will be able to baste your pattern together to check the fit. If you use the tissue paper that typically
comes with a purchased pattern or the doctor’s medical table paper, you can pin
the basic pieces together to check for fit.
If you use the tissue paper or doctor’s medical table paper, you will
need to put small pieces of tape along the inside of the seam allowances so the
paper doesn’t tear when you try on the pattern.
Once you
have your pattern, you should compare your measurements with those on the
pattern. If you download the free ABB
Tee from DIBY Club, they include a size chart.
Circle your measurements on the chart and then choose your size based on
your upper bust measurement.
Don’t worry if your full bust is larger than the upper bust measurement.
You can do a full bust adjustment (FBA)
later to fix that.
Trim the
pattern on the cutting lines and mark the seam allowances. If you need to make adjustments in the length
of the tee shirt, you can do that now or wait until later. Pin or baste the front and back together at
the shoulder seams and the side seams.
Try on the pattern and check to see if the back center line of the
pattern is situated on your center back and if the side seams are aligned
directly under your arms and down the side of your hips. Check to see if the center front is aligned
with the center of the front of your body.
If your bust is larger than the upper bust, the center front of the
pattern will not reach your center front, but you will correct that with the
FBA which will be done a little later.
However, measure the space from the pattern center front to center of your body. That will be the amount you need to add when you do the FBA. You should also mark the apex of your
bust. The apex is the fullest point of
the bust. You will need that mark when
you do the full bust adjustment.
Now you need
to make any adjustments needed for the back of the tee shirt. These should be made before you do FBA or
forward shoulder adjustments. I can’t
cover all adjustments in one posting, so I will cover a few and give you some
resources for others. Remember,
sometimes there may be more than one way to correct a problem. If you find that, choose the method that
works best for you. One good resource
for fitting is the book Knits for Real People, Fitting and Sewing Fashion
Knit Fabric by Susan Neall and Pati Palmer.
In that book, they cover how to adjust the pattern for a broad back, a
round back, and a gap in the back armhole.
I found an
excellent tutorial on how to do a round back adjustment on Curvy Sewing
Collective at https://curvysewingcollective.com/tutorial-how-to-do-a-high-round-back-adjustment/.
I was a little confused by the instructions for measuring the amount you
need to add in step 1, but most people need about 5/8” so that might be a good
starting point for you if you need this adjustment. If you find that isn’t enough, you can always
adjust the pattern some more before cutting your fabric.
If there is
a gap in the back armhole, you can add a dart at the shoulder. There is an excellent video at https://www.youtube.com/watch?v=T_ZMHeZTZRk that explains how to this. The video is from Sew Essentials. It is very easy to follow.
The
Palmer/Pletsch Complete Guide to Fitting by Pati Palmer and Marta Alto explains how to do a broad
back adjustment on pages 134 – 135. The broad back adjustment is also explained on
page 35 of the Knits for Real People book.
After you
make all your back adjustments, then check to see if you need a forward
shoulder alteration. This is a fairly
common adjustment needed today. It is
caused by sitting at computers and/or bending over looking at cell phones for
long periods of time. You will know you
need this alteration if the front neckline pulls at your throat and the
shoulder seam sits further back than your shoulder line. You can correct this by redrawing the
shoulder seam. Start
at the neck edge of the front pattern piece and angle over and down the amount needed to create a new shoulder
seam on the front piece. On the back of
the pattern start at the neckline and angle up and over to the armscye the same
amount as you did on the front piece. You can add a piece of paper if you need it
when you add your seam allowance to the new lines. Your front and back should now look something like this. The red lines are your seam lines. Make sure you add a new seam allowances before you cut out your shirt.

Now you are
ready to do the full bust adjustment (FBA). You will need to mark three
lines on the front piece of your pattern.
Line 1 is drawn from approximately 1/3 of
the way up the armhole to apex and then straight down to the bottom of the
shirt. This line should be parallel to
the center front line of the garment.
Line 2 is drawn from the side seam about
where a dart would be if the garment had a dart and up to the apex.
Line 3 is drawn anywhere below the apex
from the center front and perpendicular to Line 1.

Now cut on line 1 from the lower edge of the shirt to, but not
through, the seam at the armhole.
Then make a cut from the outside edge of the armhole to the seam, but
not through the seam. This creates a
hinge so you will be able to spread the cut edges of line 1.
Cut on line 2 up to line 1, but not through line 1. This will leave a small hinge so that you can
spread the edges of line 2.
Using pins or pattern weights to hold your pattern in place,
pull line 1 apart until the two parts from the apex to the bottom of the
shirt are parallel and the space between the two equals the amount you wish to
add to the bust. In this case, one inch was
added to the pattern piece, so the two sides of line 1 are now 1”
apart. As you spread line 1
apart, line 2 opens up as well. You
can add a dart in the space or you may be able to ease the extra added to the
seam if the knit you are using has enough stretch. However, I find that for full busted women, a
dart is often the better option. It can
be sewn at the side or you may move it later to armhole if you desire.
You will also notice one-half of the pattern piece is now
longer than the other.
To fix this, line
cut across line 3 and move the piece down to match the other
side.
Make sure you keep both sides of
line
1 parallel and equal distance apart. Fill in the three open spaces
on the pattern piece with paper and tape in place.
Although this article will not answer all your questions
about fitting, I hope it will get you interested in the process. You can find answers to most fitting
questions in the two books mentioned in this article or you can research almost
any sewing question on the internet and get some good information. You might also want to pursue a membership in
a sewing organization such as the American Sewing Guild. There is a chapter of the American Sewing
Guild in Lansing, Michigan. It is called
the Lansing Clippers. Their website is http://lansingclippers.com/ and their
blog is https://lansingclipperssew.blogspot.com/.
Have fun with whatever you sew, but I hope you will try
making a garment for yourself or someone else soon.
Judy
#howtofitapattern #sewing #howtofitateeshirtpattern #learntofitapattern