Fitting a Pattern for a Blouse or Top
Fitting Topic No. 4:
Sewing a Second Mockup to Incorporate More Adjustments
This is a continuation of
Fitting Topics No. 1, 2, and 3 in my series of posts on Fitting a Pattern for a
Blouse or Top. The first three topics
were posted Dec, 27, 2020, Jan. 3, 2021 and Jan. 18, 2021. As
indicated in my last post, I found when I tried on my first mockup that I needed
to do a round back adjustment as well as lower the bust a little more. I may also need to do a forward shoulder
adjustment. I wanted to do the round back
adjustment first to see if that would take care of the forward shoulder.
I chose another piece of fabric from my stash to use for the second mockup. It is a 100% cotton print. If this mockup fits, I may be able to actually wear the top. Then I can see if it is comfortable or if it needs some additional tweaking before I cut into expensive fashion fabric. I cut the front and back pieces and the sleeves. Before I cut the sleeves, I added ½ inch to each of the sleeve side seams. That compensates for the additional ½ inch I added to the front and back side seams.
I sewed the front and back pieces together and tried on the mockup without setting in the sleeves. The adjustments I made to lower the bust and for the round shoulders worked well. However, the round shoulder adjustment did not alleviate the forward shoulders issue. I could see the back shoulder seam needed to be moved forward another ¼ inch. If I had another person helping me with the fitting process, I would have had that person open the shoulder seam while I had the mockup on and then pin the shoulder seam where it should have been. Then I could have measured that seam and made the adjustment on my pattern. Without a helper, I had to stand in front of the mirror and make an assessment of the amount needed. Then I took off the mockup and made the changes and tried it on again to check the fit. Once I had it on, I could look at it in the mirror and also place my fingers on the seam line and feel that it was in the right location. To offset the extra 1/4 inch I added to both sides of the back neckline at the shoulder seam, I could take 1/4 inch off both sides of the front neckline. I chose not to do that because I like the extra room at the neckline. However, I will add 1/4 inch to the seam of the of the back neck facing on my pattern.


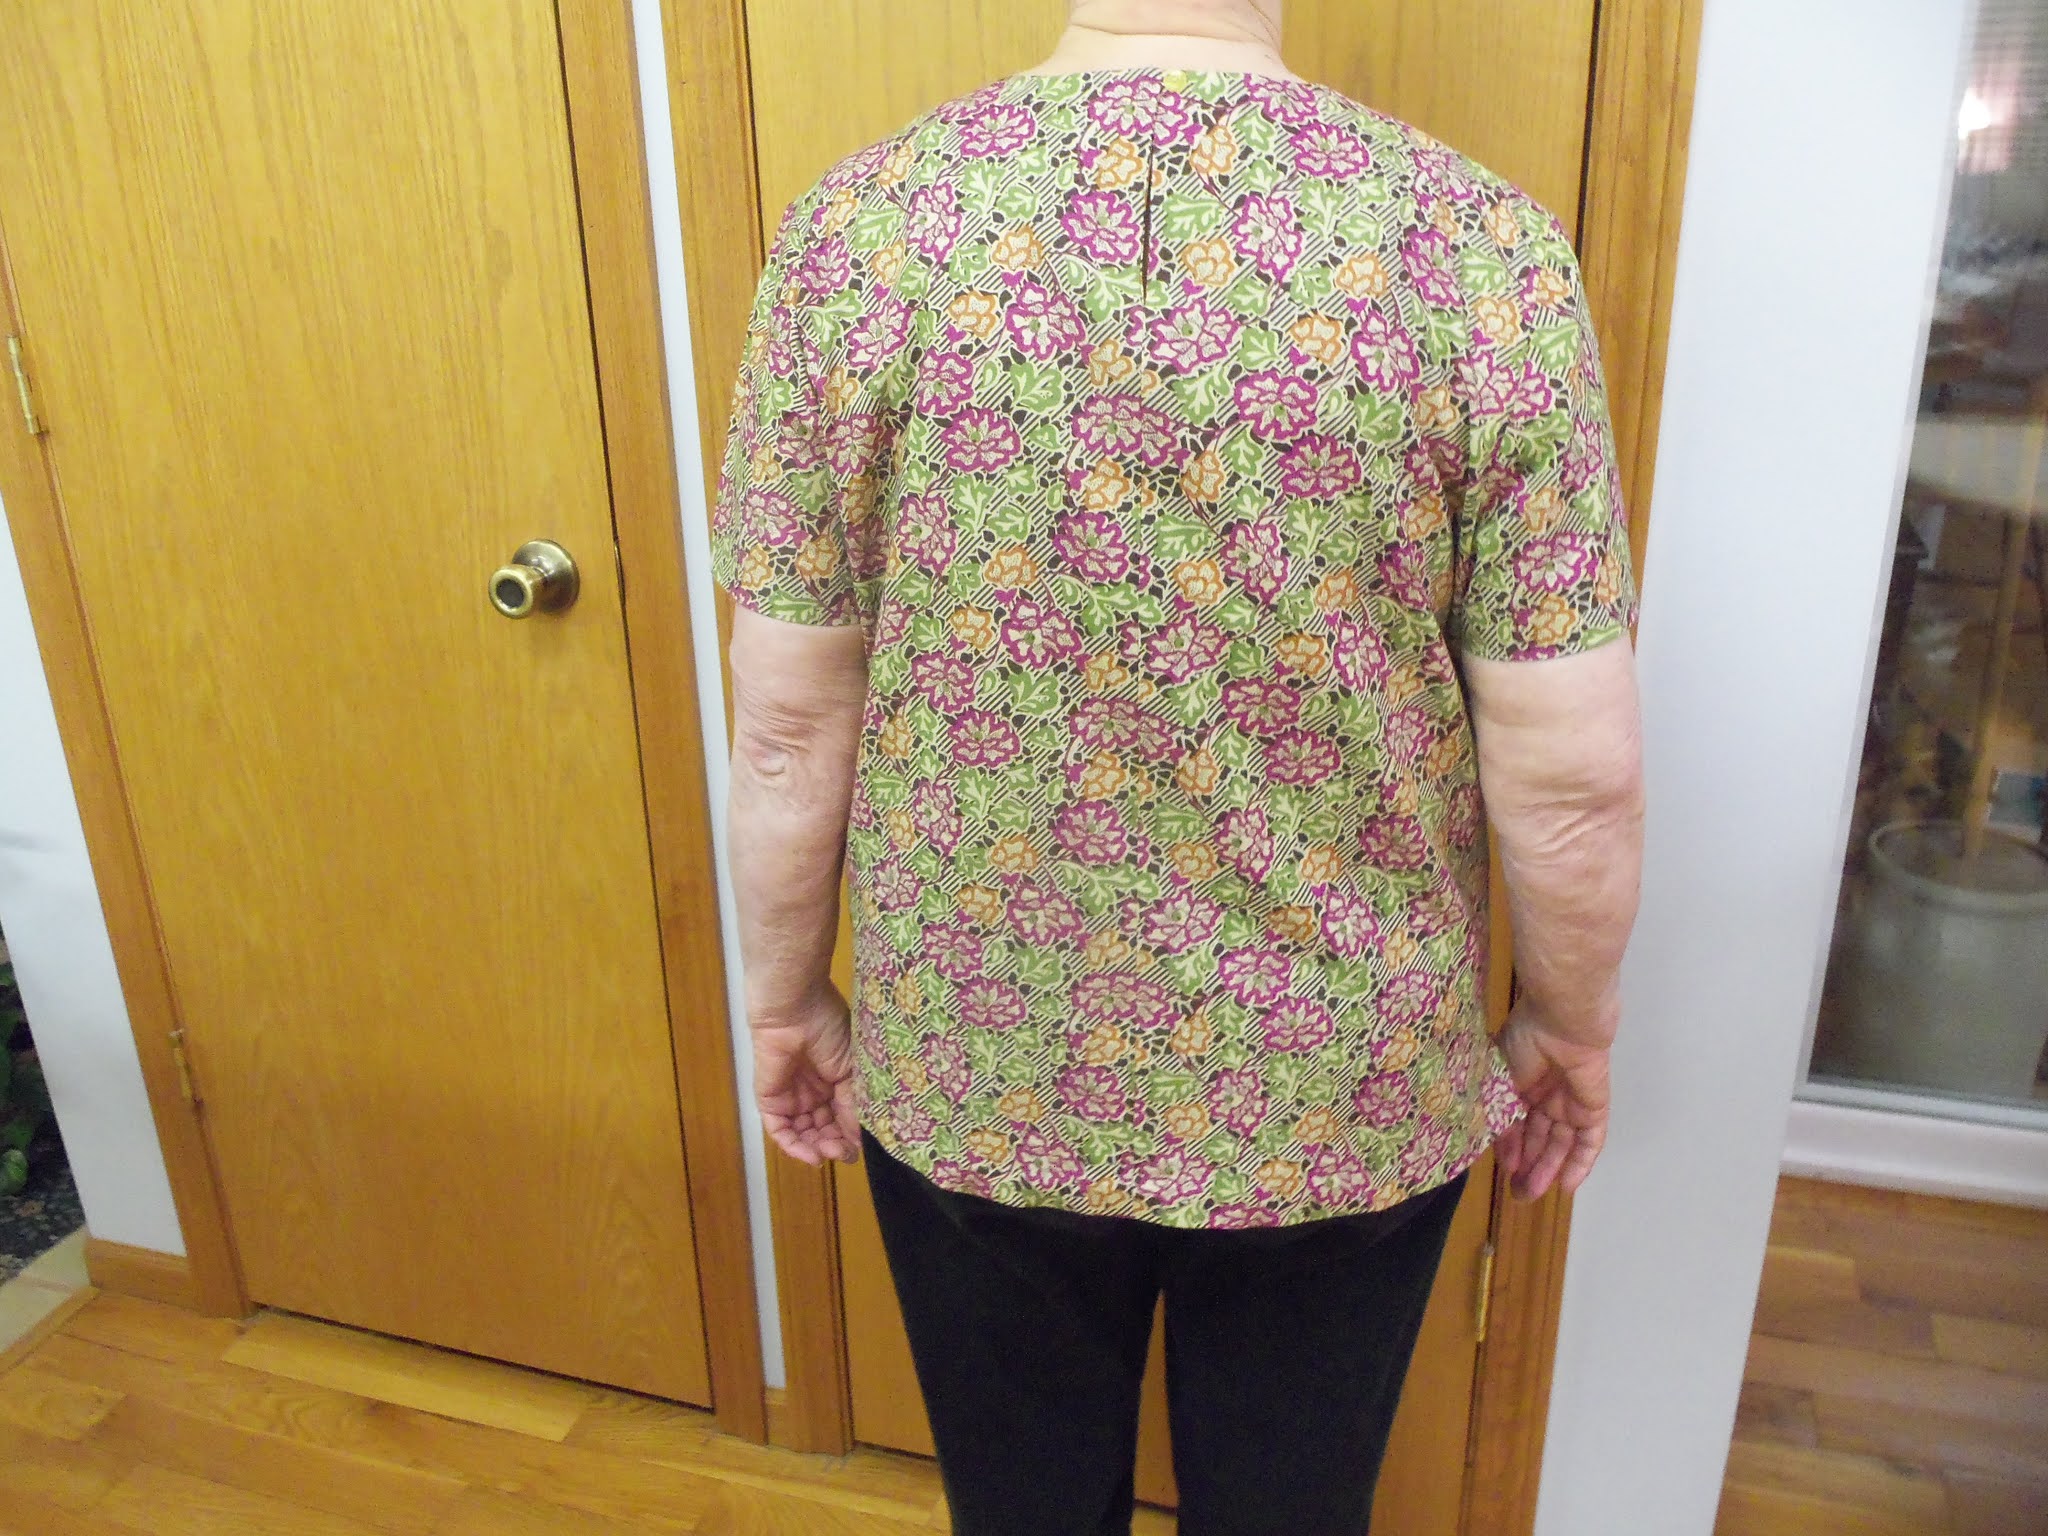
The next step was to try to insert the sleeves. You can see in the picture above, the width of the back across the armscyes are little too wide. This is where I really could have used someone to help. My husband was not up to the task, so I had to do it alone. I did not want to make the top so snug across the back that I would have difficulty moving my arms. I decided to baste the sleeves with a 5/8 inch seam and try the mockup on again before determining how much extra seam to take. After doing that, I decided to take an extra ¼ inch on the seam in the middle of the armscye in the back and gradually decrease to 5/8” again at the shoulder seam and where the seam straightens under the arm. A picture of the mockup is shown below.


This second mockup fit much better than the first, but the front was a little loose in the hip area. This sometimes happens when your hips are smaller than your bust and you make the full bust adjustment on the pattern. One solution is to make a pair of vertical darts in the front. I added the darts and liked the appearance of the front of the top much better.
I think this second mockup is wearable. So, my next step was to take it apart and sew it together again with a regular stitch instead of a basting stitch. I also added the facing to the neck edge and back opening. The pattern called for a thread loop and button at the top of the back opening. Because I am not good at making thread loops, I decided to use a small elastic jewelry cording. I enclosed both ends between the facing and the back when I sewed those two pieces together. I liked this much better than a thread loop.
Also, I wasn't really happy with the darts I added to the front of the top. I decided to rip those out and take 1/2 inch off both sides of the front from the hem decreasing to nothing at the waist area instead. I think this will work better for me. Pictures of the finished garment are shown below.

This wraps up my series of posts on Fitting a Pattern for a Blouse or Top. Fitting is a process. It takes time and patience but the rewards are worth the effort. Once you have a basic pattern that fits, it can be used multiple times and can be changed into different styles without having to fit another pattern!
Have fun sewing!
Judy
No comments:
Post a Comment