Saturday, October 27, 2018


Having Fun with Craft Projects   

After finishing my “accidental” coat, I decided I would work on a small craft project before returning to sewing clothes.  I decided to make some potholders and I had the perfect book for that.  In August while browsing in Country Stitches, I purchased Pot Holders for All Seasons by Chris Malone.  There were some cute potholders illustrated and the best part was there would be no fitting required.  No fitting definitely takes the stress out of sewing!  This was the project I needed to keep sewing, but relax a little at the same time.

I am going to use the potholders for a hostess gift at Thanksgiving.  I found the perfect pair to fit the situation in Potholders for All Seasons.   I chose “Riblets” for my first potholder.  It is a pig and is on page 19 in the book.  My hostess collects pig figurines and her husband is a pig farmer.  I chose “Catch of the Day” for the second potholder.  It is a fish and is on page 33 in the book.  My hostess and her family love to fish, so I think the fish will work well, too. 

Pictures of the two potholders and the front of the book are shown below.


My next clothing project will be a shirt for my husband.  My first step will be to fit a pattern to him.  I will let you know how that goes. 

I hope your projects are going well.  Keep sewing!  It is good exercise for the brain.

Judy


Sunday, October 14, 2018

Completion of My “Accidental” Winter Coat

I just completed my “accidental” winter coat.  I will try to explain why it is an accidental coat.  Each year the Lansing Chapter American Sewing Guild has a sewing challenge for the members.  This year the challenge was to sew something that we were inspired to make from a guild monthly presentation, a guild sponsored class, or a neighbor group.  The Sew Stylin’ Neighborhood Group worked on making coats, so I decided I would make a raincoat for my challenge.  The members will bring their challenge items to the October meeting and everyone with a completed article is entered into drawings for prizes.  Most of us try to complete an article for the challenge because the prizes are usually very good and who doesn’t like to win a prize!

The pattern I chose for my raincoat was Vogue pattern V8884.  As usual, my first job was to try to fit the pattern to me.  I planned to sew the coat at the guild’s sewing retreat which was held in Shipshewana, Indiana in August.  I was anxious to fit the pattern and get it cut so I could work on it at the retreat.  I traced the pattern on pattern paper and used muslin to make my first test garment.  Although a test garment is usually made from muslin, it can be made from any inexpensive fabric. 

I basted the main pieces of the fabric together so I could try it on and make any needed adjustments.  It was so large, I decided I should just start over with a smaller size.  I made some adjustments to the pattern before I cut it.  I raised the left shoulder and increased the bust just a little. 

I had only a little muslin left in my stash, so I decided to look for some other fabric for my second attempt at getting this coat to fit me.  I found some home decorating fabric I purchased from an auction many years ago.  It was just taking up space in my closet.   I knew it was too heavy for a raincoat, but it could be used for a winter coat.  I decided the pattern (Vogue V8884) could be used to make a winter coat just as well as a raincoat.  My other problem was I didn’t know how this fabric would look as a coat.  The pattern on the fabric was big and bold!  I really didn’t think the pattern would fit, so I decided to make it anyway.  If it didn’t fit, I would just throw it away and I would have some extra space in my closet with the fabric gone.  On the other hand, if it fit I would have another winter coat.  I decided to take the risk and make the coat!

I basted the main pieces of the pattern together so I could try it on to check the fit.  Although it fit, I still wasn’t sure I liked the bold print, so I took it to my Wednesday sewing group and tried it on for my sewing friends.  To my surprise, they liked the fabric.  Bev reminded me of an article in a recent edition of Threads magazine entitled “Fall Looks”.  The article by Erica Redfern was a fashion forecast of patterns and fabrics for Fall sewing.  Ms. Redfern stated “Don’t be afraid to stand out with loud prints or eye-catching details.  It’s about being unique and embracing your personal style.”  

If bold prints are predicted to be a fashion statement for the Fall by Threads, this coat should really make a statement!  I like things that are a little bit different and I think this coat could be described as different.  I decided maybe I actually like this accidental coat.  Although the coat was originally intended to be only a muslin to check the fit of the pattern, I think it will serve me well as winter coat. 

Pictures of the coat, a close-up of one of the buttons and pattern envelope are shown below.  I included the button because the buttons can't be seen in the picture of the coat.  It is a double-breasted coat, so it has eight buttons.  Also, the front yoke can't be seen because of the pattern in the fabric.


I can still use the pattern to make a raincoat.  I already have the water repellent fabric I purchased from Field’s Fabric.  Now I can cut the fabric and know the pattern will fit.  I will post a picture of the raincoat when it is completed.

I hope you will get busy making your Fall and Winter sewing projects.  You will need them soon!

Judy


Friday, October 5, 2018


72 Outfits from a 12-Piece Wardrobe!    -      

As I indicated in my last post, the 12-piece wardrobe is finally finished.  Now I need to devise a way to show you how I determined this number without posting 72 pictures.  I think I will show a picture of all 12 pieces and then explain which pieces I used to make the 72 outfits. 

Here are pictures of the 4 bottom pieces (3 pants and 1 skirt).


These are the pictures of the 6 tops.


And these are the two jackets.


I used all 6 tops with the navy pants; all 6 tops with the wine pants, and all 6 tops with the beige pants.  Then I used all 6 tops with the navy skirt.  That makes 24 outfits using the 6 tops with each of the 4 bottom pieces.

Then I added the white jacket to each of those 24 outfits.  That brings the total to 48 outfits. (24 + 24).

Next, I added the beige jacket to each of the outfits consisting of the 4 bottom pieces and the 6 tops. 
(48 + 24) 

That brought the total to 72 outfits! (48 + 24)

This is the second time I have sewn a 12-piece coordinated wardrobe.  I am ready to move on to something different!  I am looking forward to sewing and blogging about whatever comes to mind and not be limited to one big project.

I do have one other project I am currently sewing and it must be completed by Oct. 15th.  That is a winter coat I am making for this year’s “Challenge” for the Lansing Chapter, American Sewing Guild.  I worked on the coat at the guild’s sewing retreat in August.  I haven’t touched it since then so I really need to get busy on it.  I plan to post a picture of the coat when it is finished.  After that, I am not sure what direction I will take with my sewing.  Regardless, I love to sew!  I just need a little time to decide what I want to pursue next.

I hope you are giving lots of thought and time to all your sewing projects!

Judy

Thursday, October 4, 2018


12th Piece of Coordinated Wardrobe is Finished!  -

Finally, this project is complete!  I enjoyed making the wardrobe, but I am glad is it done.  I was always pushing to meet some self-imposed deadline for completing each piece.  Other responsibilities kept getting in the way of my deadlines.  Those other responsibilities were probably much more important than just completing an article of clothing to post on my blog.  On the other hand, I do take my commitment to my blog seriously.  So, I had to find a way to meet all my responsibilities.  

Anyway, the wardrobe is complete.  Now let me tell you about the 12th piece.  It is a simple, beige jacket with no closures.  It should go with everything.  The pattern is McCall’s M5668.    The jacket has princess seams with slits at the sides and three-quarter length sleeves with slits.  The center fronts are self-faced and the sleeves are lined.  Pictures of the pattern envelope and the finished jacket are shown below.


I had not used this pattern previously, so I spent a lot of time fitting it.  I made two muslins before I started the final jacket!  I hope eventually my fitting skills will get better and I will not spend so much time fitting new patterns.  Of course, it would help if I would use the same patterns and just change them a little.  This is something I intend to do in the future!  I used fabric for the jacket from my stash.  I have no idea where I bought the fabric or exactly what the fabric is.  I know it is mostly cotton, but it does have just a little stretch.  I also had fabric in my stash for the lining.  The only item not in my stash was the pattern. 

Tomorrow I will post an article showing the total number of outfits I can make from the 12 pieces in the wardrobe. 

Until then, I wish you luck on all of your sewing projects. 

Judy


Thursday, September 13, 2018


Completion of 11th Wardrobe Piece – Light Blue Shirt

I used the same computer-generated pattern for this shirt as the one I used for the scrappy plaid blouse and the navy print cotton shirt.  I worked on this shirt at the recent American Sewing Guild Lansing Chapter’s sewing retreat in Shipshewana, Indiana.  However, I took it home to put the finishing touches on it.

I needed to make the buttonholes and sew on the buttons.  I thought this was the perfect time to try one of the decorative buttonhole stitches in my Pfaff Creative Icon sewing machine.  I decided to sew a few buttonholes to see which was best for this shirt.  I used some of the same fabric I used for the shirt and applied the same interfacing I used for the front facing.   Using navy thread, I embroidered buttonhole no. 124 and then used a medium blue thread for no. 123 from the “mini” embroidery section in my machine.   A close-up photo of both buttonholes is shown below.  I liked both buttonholes, but both were too large for my shirt.


Being anxious to complete the 12-piece wardrobe, I decided to move on and just sew regular  buttonholes and perhaps embroider a separate design between them.  I located an embroidery design of three small flowers which was also in the “mini” embroidery section of my machine.  I decided to embroider that design between where each buttonhole would be sewn on my shirt.   I pulled back the front facing before I embroidered the design so the back of the embroidery would be hidden inside the facing.  Then I sewed a regular buttonhole through the shirt and facing between each embroidery design.  I also placed one of the small flowers on each of the collar points.  A picture of the finished shirt and closeups of the embroidered designs are shown below.


There is just one piece of this wardrobe to complete and that is the tan jacket.  I am trying a different pattern so it will take a little extra time to check the fit.  I hope to complete the jacket soon.  I believe I will be able to get close to 72 outfits from the 12-piece wardrobe.  I will explain how this is accomplished as soon as I complete the jacket.  Please stay tuned!

Judy

Monday, August 27, 2018


Response to Comment on Recent Post  

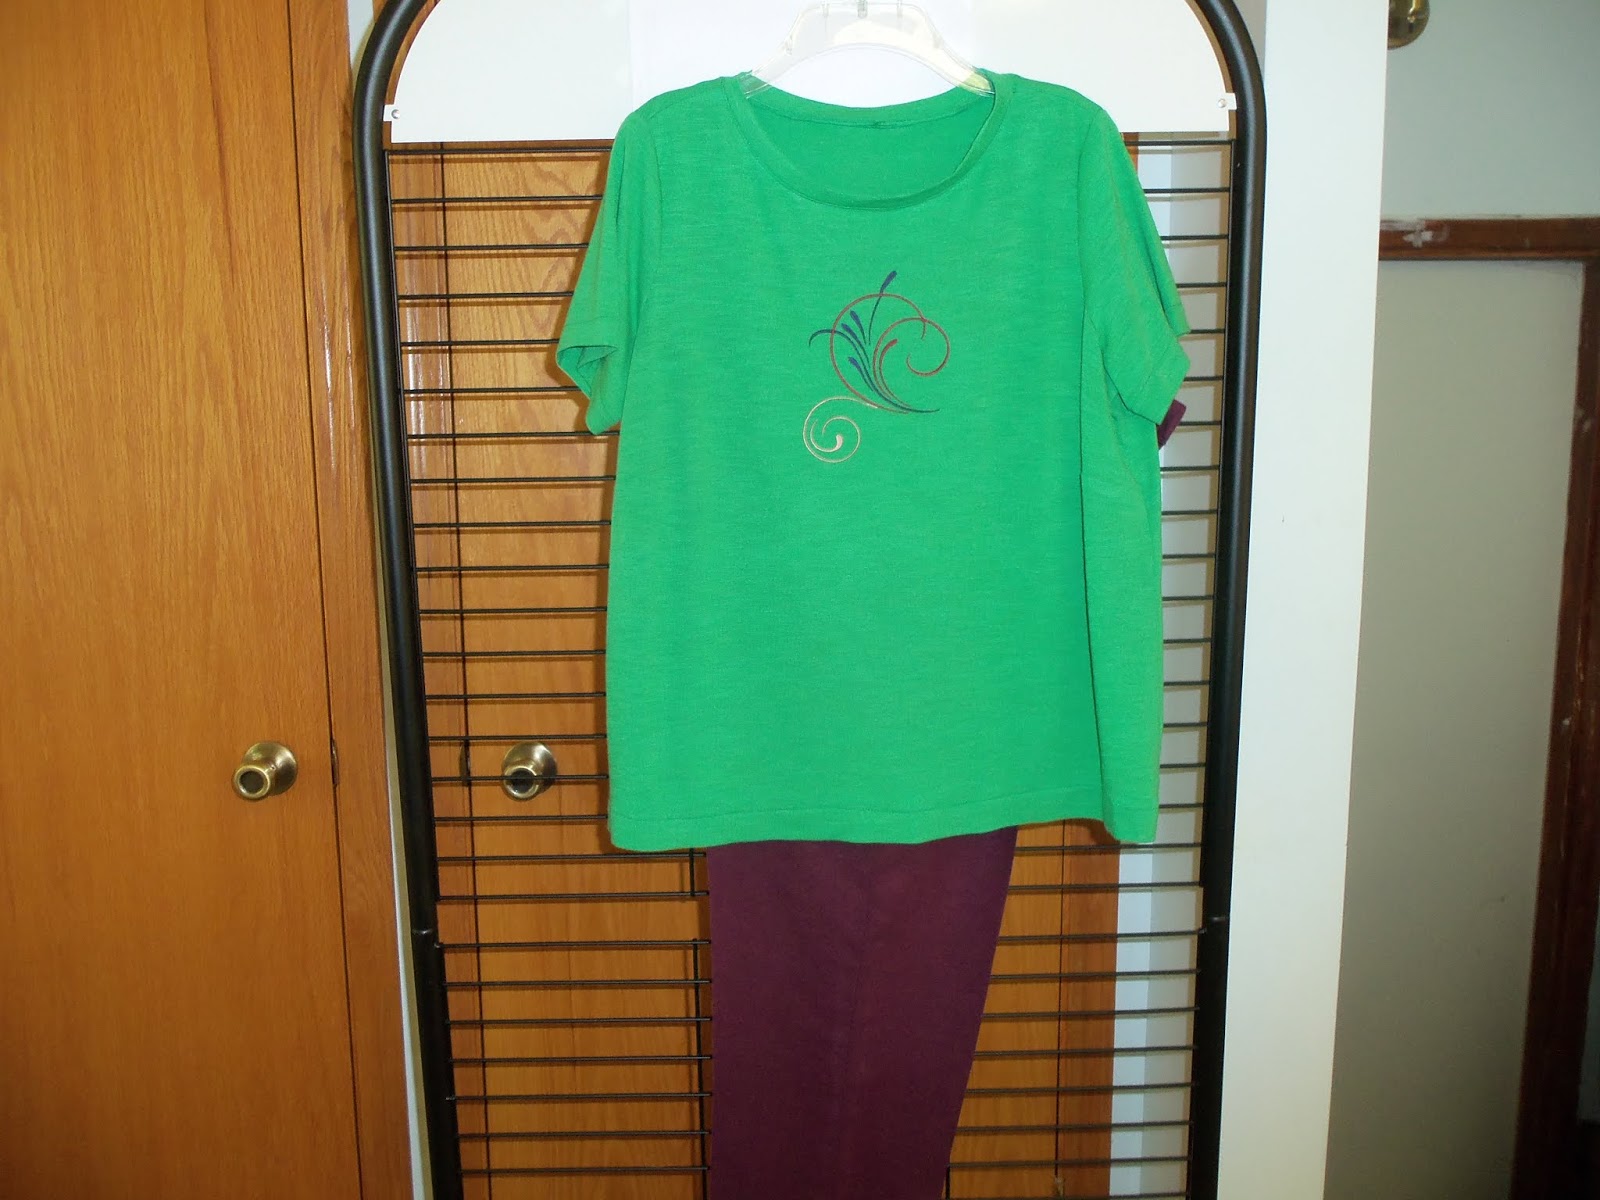
I received a comment on my Aug. 23rd post, “Taking Risk with Color”.  That person asked if I could show a picture of the kelley green top with the wine pants so readers could determine if the two looked okay together or not.  I think that is a good idea.  I realize I am not good with colors, so I do not want to rely on my own opinion.  I have included a picture of the two items along with a closeup. Hopefully you can see the colors better in the closeup.  


It is not a big deal if the two do not coordinate.  I know the green looks good with the beige pants, the navy pants and the navy skirt.  So, I will be able to include the top as part of the 12-piece wardrobe.  

The only difference it makes is the total number of outfits made with the wardrobe.  If the green top does not look good with the wine pants, I will still have 68 outfits from the wardrobe.  If the green top does look okay with the wine pants, I will have 72 outfits from the wardrobe.  I consider either number great for my efforts in making the wardrobe.  I will be happy with either!

I am interested in your opinion.  You can make a comment in the "Post a Comment" section at the bottom of this post. 

Thanks,

Judy

Thursday, August 23, 2018


Taking Risk with Color  -      
       
As I was planning the 10th article of clothing for my 12-piece wardrobe, I decided to step out of my color comfort zone and try something different.   I decided to make a top using a kelly green knit fabric.  I used navy, tan, and wine for all the bottom pieces (skirt and pants) and I used prints and a plaid with those colors for the first four tops.  Kelly green will take me in a different direction, but I think it will work.  I know it works with navy and tan, but does it work with wine?  I am not sure, but I am going to risk it! 

I used the same pattern that I used for my color-blocked knit top.  It is McCall’s pattern M6964.  That is the great thing about reusing a pattern.  You don’t have to spend any time fitting it.  The same pattern will look different when made with different fabrics or by changing a small detail.  I decided to add an embroidered design to the front of the top.  A close-up of the finished design is shown below along with a picture of the top.


I am publishing this post while I am at the American Sewing Guild Lansing Chapter’s Sewing Retreat.  We are at the Farmstead Inn in Shipshewana, Indiana.  Fifteen of us are sewing in a large room with lots of sunlight.  For those of you who have never been to a sewing retreat, it is a really fun experience for a dedicated sewer!  I have been asked if I would accomplish more if I simply stayed at home and sewed by myself.  Perhaps, but there is much more than simply sewing involved here.  I learn so much by interacting with all these talented, creative women plus I have no responsibilities to cause interruptions.  I don’t have to stop to prepare meals, wash dishes or do laundry.  And the ideas I get are endless.   This is the second day of this retreat.   There is a baby quilt in progress, a finished crib sheet, a queen size quilt top finished except for the border, a partially finished Halloween tree decoration, a table runner in progress, an almost done blouse, two pillow cases, two quilts in progress, some quilt blocks for a block swap, a doll dress, two tops, two pants, one messenger bag in progress, coasters, quilted wall hanging, the beginning of a coat, and five purses.  

Last night we ate dinner in an Italian restaurant in Middlebury and tonight we are eating American food in a different restaurant in Middlebury.  We sew anytime and for as long as we can stay awake!  I started this morning at 7:00 a.m.  My assessment of sewing retreats is they are a great place to learn new skills and get ideas from others.  You will accomplish more if you plan what you are going to sew before you go.  It also helps if you do some prep work on your projects.  For example, cut out all pieces and iron on the interfacings before you leave.  Then you are ready to sew upon arrival. 

We have our dates for next year’s sewing retreat set.  It will be here in Shipshewana from September 11 – 14.  All of us are looking forward to it already.

I hope your sewing projects are going well and I hope a sewing retreat is in your future!

Judy